Preliminary Checklist for Installing Your Electrical Enclosure Air Conditioner
Before installing your electrical enclosure air conditioner, it’s wise to check that it’s the correct unit, it’s in working condition, and after installation, that it’s operating correctly. This checklist covers these points, although full details can be found in the User and Technical Manual shipped with the unit or here if you have purchased from Thermal Edge.
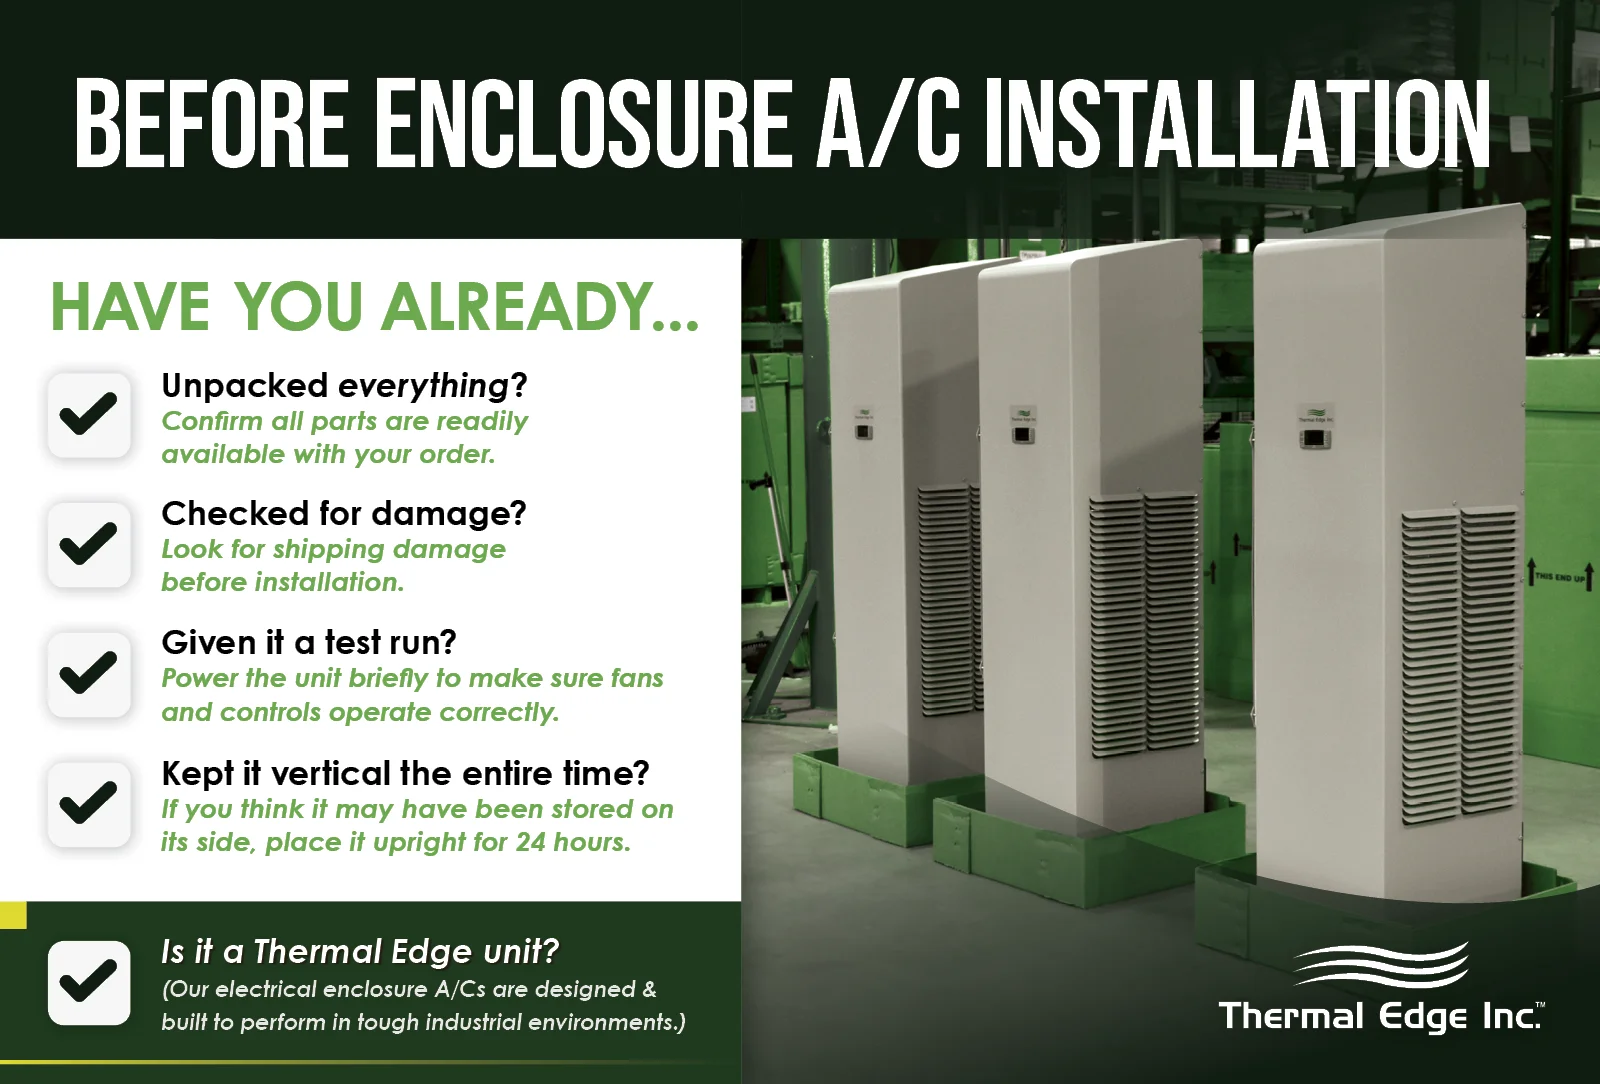
Unpack and Check
Carefully unpack the unit and check for damage. Look at the unit label and verify the unit is the correct size, voltage rating, and whether it is a single phase or three phase unit. Check that options specified have been included and familiarize yourself with the components and electrical connections.
Store Vertically
The enclosure air conditioner must always be installed and stored upright. If there is any reason to believe it may have been shipped or stored on its side, place it upright for 24 hours to give the compressor oil time to drain out of the refrigerant piping into the compressor. This is very important and if not done, there is a high possibility of compressor damage.
Test Run Before Installation
Before installation, perform a test to check that the unit is operating correctly. Connect it to a power source and adjust the set point to a temperature below ambient temperature. Run for 15 minutes and check the following:
- Condenser fan runs once system pressure has built up.
- Condenser coil becomes warm.
- Outlet air is at least 10 ºF cooler than the ambient temperature.
- Check for unusual mechanical noises or vibrations that may indicate a mechanical problem.
Installation
Use the provided template to decide where enclosures will be mounted. Ensure there is at least a 3-inch clearance between any obstruction and the condenser air inlet and outlet. Also verify that holes cut into electrical enclosures do not interfere with any equipment. Before cutting the panel, switch off electrical enclosures to avoid risk of injury or damage.
Install the gasket on the air conditioner, if not already present, and hang the air conditioner on the top cut out and secure the air conditioner to the enclosure. Check there are no air leaks and then connect a compatible power source.
Programming
For standard operation, the only programming requirements are to set the desired setpoint temperature. Press the Set button to see the current setpoint. To change the setpoint, press the Set key for 2 seconds. The set value is displayed and the “F” LED starts blinking. Press the Up or Down keys to change the setpoint, press the Set key again, and wait 15 seconds for the enclosure temperature to be displayed.
The controller has several hidden menus where other operating parameters can be changed; procedures are explained in the User and Technical Manual. The keyboard can be locked by pressing the Up and Down keys for more than 3 seconds and unlocked in the same manner.
Commission and Check
Once the enclosure air conditioner has been installed, re-energize the enclosure, close the electrical enclosure’s doors, and allow the enclosure to reach normal operating temperature. Record this temperature.
Start the air conditioner and leave it running for at least 30 minutes before checking the electrical enclosure’s interior temperature. Verify the enclosure temperature is dropping and that it stabilizes at the desired level. (The air conditioner controller set point? is five degrees F below the desired enclosure temperature.) This may take a few hours. If there are any problems, refer to the trouble shooting guide in the User and Technical Manual.
Good to Go
Once the programming of the controller is complete and you are satisfied it’s working correctly, the installation is complete. Regularly check that the enclosure air conditioner is working correctly and ensure regular preventative maintenance is performed. If you have any concerns, contact Thermal Edge’s Support Team for help to resolve these issues.